Some dreams do come true.
I always wanted a sturdy outdoor pull-up bar to get jacked & tan on.
One of the benefits of purchasing a home with my wife is that, with enough planning, we can do whatever we want to our house.
My handy older brother was visiting this weekend. He offered his services on any project we chose. The backyard pull-up bar was a no-brainer.
Below is a breakdown of materials, cost, and rough steps to follow.
Materials and Cost 🪓💰
| Item | Cost |
| 1″ x 60″ black iron pipe | $36.49 |
| 1.25″ flat drill bit | $6.78 |
| 3″ stainless steel hex lag screw (x8) | $12.80 |
| 1″ black iron floor flanges (x2) | $7.68 |
| 50 lb bag of fast-set concrete (x6, only used 5) | $37.08 |
| 4″x6″x12′ pressure treated posts (x2) | $62.56 |
| Post hole digger | $49.98 |
| Total | $213.37 |
Steps For Building
- Dig two 3-foot holes with a post-hole digger.
- Measure depth to ensure the holes are level.
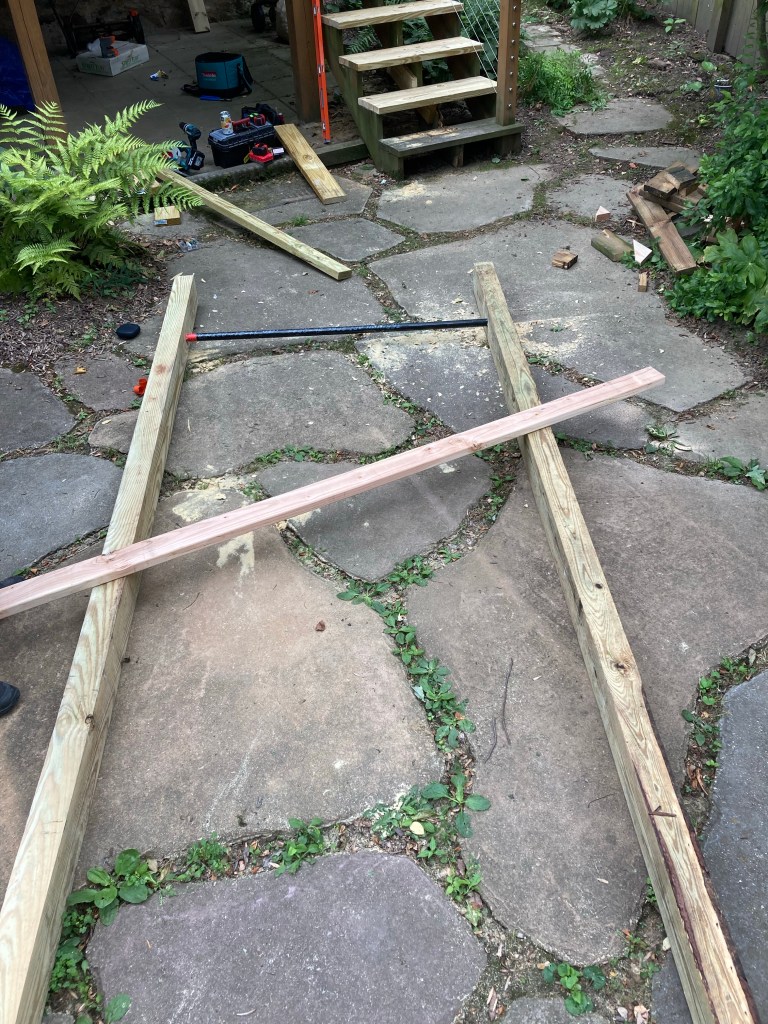
- Knowing only 9 feet of the post will be exposed, measure how far from the top you would like your pull-up bar; measure twice and then mark each post.
- Drill a hole in each post with the flat drill bit.
- Drill in the floor flanges on the outside of one post.
- Screw the iron pipe into that flange.
- Slide pipe through the other post (may need encouragement with the hammer), then screw the other floor flange onto the pipe.
- Secure second flange with screws.
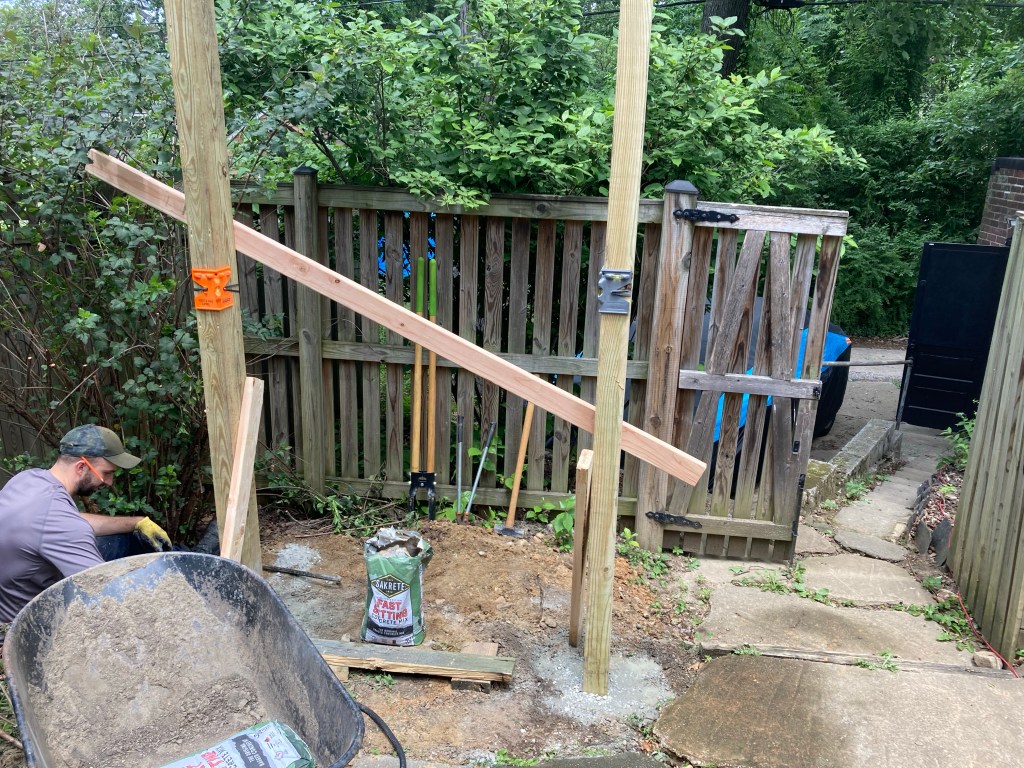
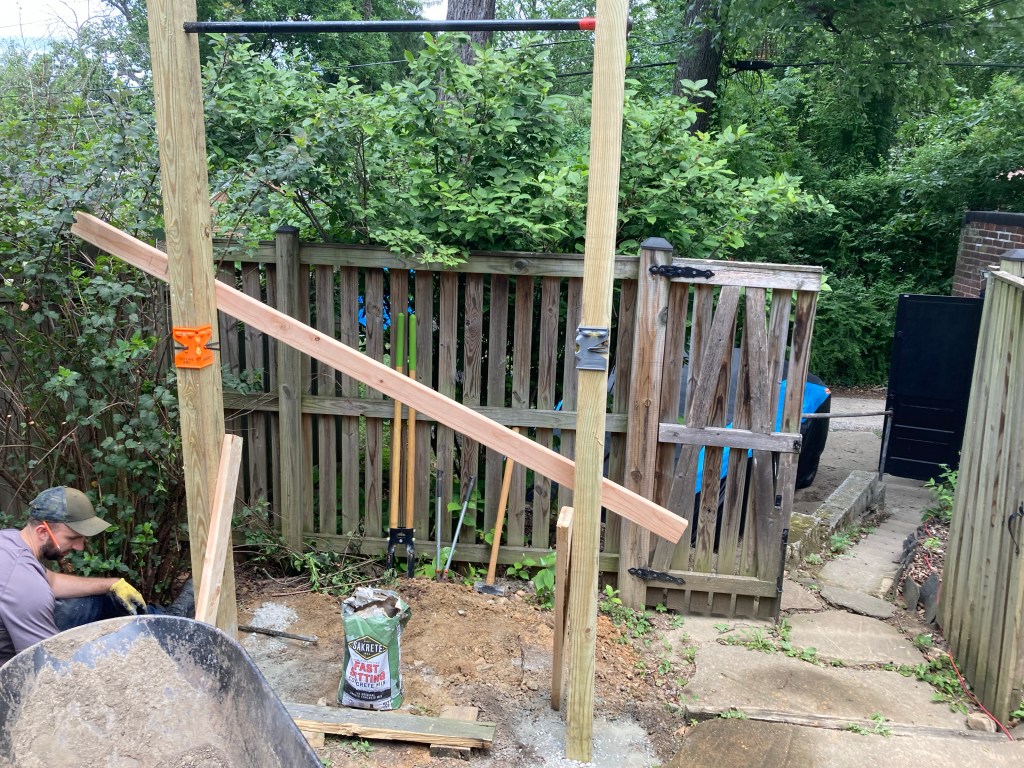
- Move the base of the posts to the top of the hole, then lift the posts to drop them in (may require two people).
- Mix cement in the hole, and let sit to settle.
That’s it! The whole project took about 4 hours to accomplish; one of the main hurdles was hitting rocks as we dug down and having to pry them out with a crowbar.
With $200 we now have a mega-sturdy bar for pull-ups, muscle-ups, hanging leg raises, all kinds of ring work, and anything else we can think up!
Here it is in action!
P.S.
Want a simple plan to get to 20 pullups?
Other Photos From The Day 📷